

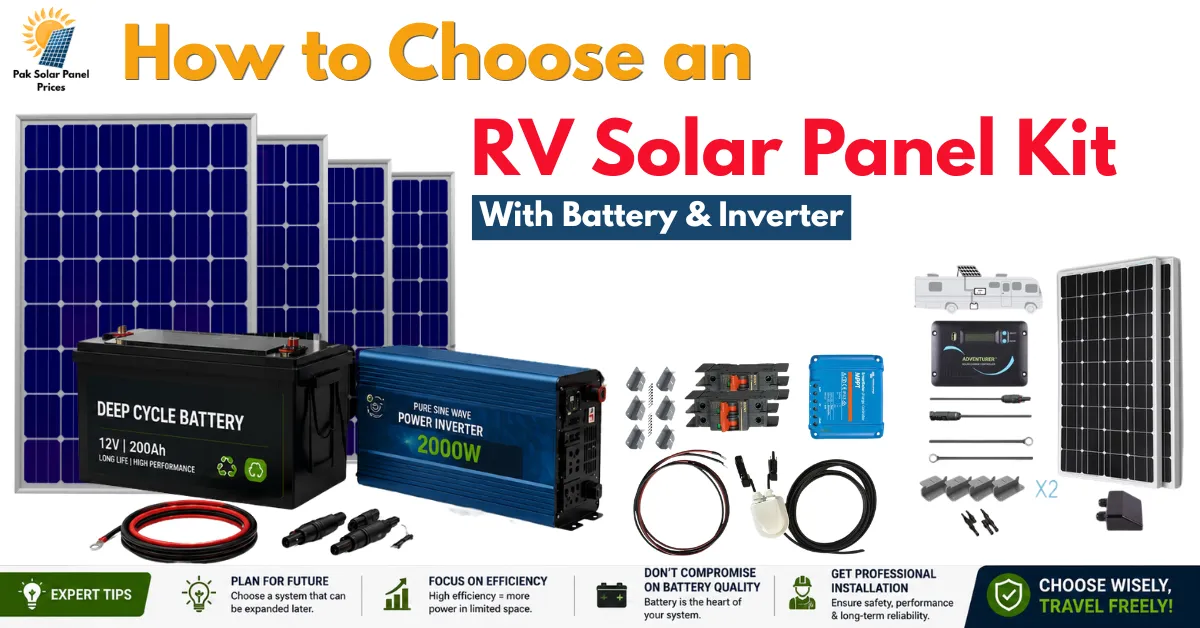
Best RV Solar Panel Kits with Battery and Inverter – How to Choose the Right One
If you’ve ever sat in a campground at 2 p.m. watching your battery monitor drop while the AC struggles to keep up, you already know why so many RV Solar Panel Kit are switching to solar. An RV solar panel kit with battery and inverter isn’t just a nice-to-have anymore for anyone who boondocks, dry camps, or just hates the noise of a generator, it’s become the backbone of the whole setup.
RV Solar Panel Kit with Battery and Inverter guide walks through what actually matters when you’re shopping for one of these kits: how to size a system correctly, what each component does, and which mistakes tend to bite people after the return window closes.
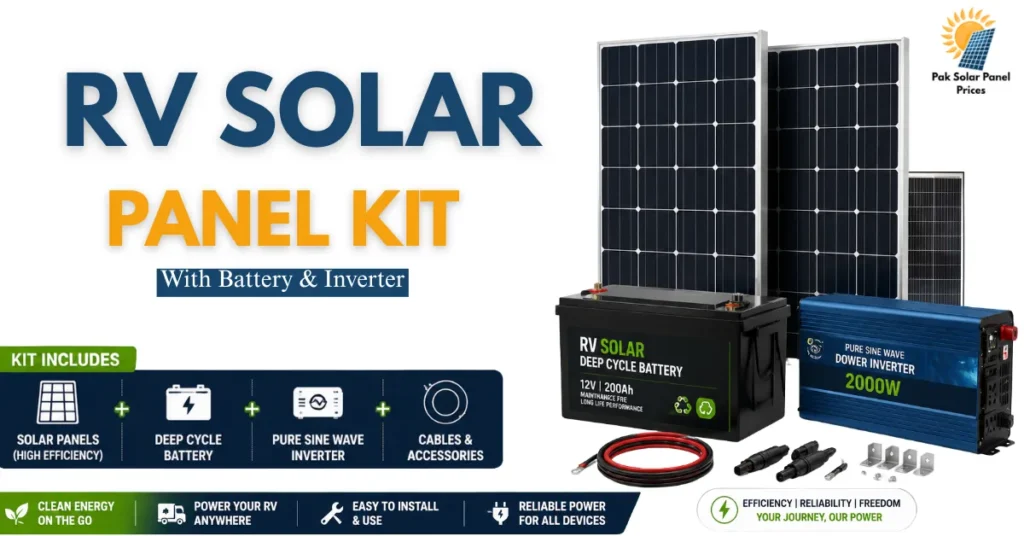
Why RVers Are Ditching Generators for Solar
A generator gets you power, but it also gets you fuel runs, noise complaints from your camping neighbors, and maintenance headaches. Solar Panel Kit solve the same problem quietly. Panels on the roof feed a charge controller, which tops off a battery bank, and an inverter turns that stored DC power into the AC electricity your coffee maker, laptop, and fridge actually need.
Read More: SAJ Solar Inverter Price in Pakistan 2026 – Latest Models and Today Price List
The appeal is obvious: no fumes, no fuel, and once it’s installed, it just works in the background. The catch is that “just works” only happens if the system is sized correctly for your actual usage which is where most first-time buyers go wrong.
Why the Price Gap LiFePO4 vs Lead-Acid
| Factor | LiFePO4 | Lead-Acid |
|---|---|---|
| Usable capacity | ~90–100% of rated capacity | ~50% (deeper discharge shortens lifespan) |
| Cycle life | 3,000–4,000+ cycles | 300–500 cycles |
| Weight | Roughly half for the same usable capacity | Heavier matters for RV payload limits |
| Charge speed | Fast, accepts high current | Slower, needs gentler charging |
| Upfront cost | Higher | Lower |
Sizing Your System: Do the Math Before You Shop
Before you look at a single product listing, figure out how much power you actually burn through in a day. It’s a simple exercise:
Say that comes out to roughly 2,000Wh a day. If you’re getting about 5 hours of usable sun, you’d divide 2,000Wh by 5 hours, landing on around 400W of solar panel capacity as your baseline. For your battery bank, most people aim for 1.5 to 2 times their daily draw so there’s enough reserve to get through a cloudy day or an overnight stretch in this example, that’s somewhere around 3,000–4,000Wh of storage.
The inverter is the easier part: size it slightly above your highest simultaneous load, not your average one. If your appliances peak at 1,500W, a 2000W inverter gives you breathing room. Skimp here and you’ll find out the hard way when the inverter trips the moment you turn on a microwave and a coffee maker at once.
Typical Wattage Tiers
| System Size | Best For | Realistic Daily Output |
|---|---|---|
| 200–400W | Weekend trips, lights/fridge/phone charging | 800–1,600Wh |
| 600–800W | Full-time RVers, laptops, Starlink, small appliances | 2,400–3,200Wh |
| 1,000–1,500W+ | Heavy users running microwaves, induction cooktops, occasional AC | 4,000–6,000Wh |
Read More: 1 Ton Inverter AC Price in Pakistan 2026 | Today Updated Price List
The Core Components, and Why Each One Matters
Solar panels are the obvious starting point they’re what actually converts sunlight into usable power. Monocrystalline panels dominate the market right now because they pack more output into less roof space, which matters when your “roof space” is, well, an RV roof.
The battery bank is where that power gets stored for later. Lithium iron phosphate (LiFePO4) batteries have basically become the default choice for RV setups, and for good reason they last longer, handle deeper discharge cycles without degrading, weigh less than lead-acid alternatives, and don’t need the maintenance older battery types demand.
The charge controller sits between the panels and the battery, regulating how power flows in. If you’re choosing between controller types, go MPPT (Maximum Power Point Tracking) over the older PWM style MPPT controllers can pull noticeably more usable power out of the same panels, especially in cold or cloudy conditions.
The inverter is the last link in the chain, converting stored DC battery power into the AC power your household-style appliances expect. Pure sine wave inverters are worth the extra cost over modified sine wave they’re gentler on sensitive electronics and modern fridge control boards, and some equipment simply won’t run properly on anything else.
Complete Solar Panel Kit vs. Building Your Own
There are two main paths here, and neither is objectively “better” it depends on how hands-on you want to be.
All-in-one kits bundle panels, battery, charge controller, and inverter together, with the compatibility already worked out for you. This is the simpler route if you’d rather not spend a weekend cross-referencing spec sheets, and it usually comes with mounting hardware and wiring included.
Portable solar generators think large power stations with a battery, inverter, and MPPT controller built into one unit, paired with foldable or rooftop panels offer more flexibility. You can use them in the RV, pull them out for a separate campsite, or use them as backup power at home. The tradeoff is usually a higher price per watt-hour of storage compared to a fixed rooftop system.
If you’re in the same rig most of the time, a fixed kit tends to be more cost-effective long term. If you switch vehicles often or want the option to use your power source outside the RV entirely, a portable unit earns its higher price tag.
Read More: Best Solar Inverter in Pakistan 2026 – Top Brands, Prices and Buying Guide
What Actually Trips People Up
A few patterns show up again and again in real-world reviews and owner feedback:
Budget Expectations by Tier
| Tier | Approx. Price Range (USD) | What You Get |
|---|---|---|
| Entry-level (200–400W) | $600 – $1,600 | Basic panels, small LiFePO4 battery, 1000–2000W inverter — good for weekend use |
| Mid-range (600–800W) | $1,600 – $3,500 | Larger battery bank, MPPT controller with monitoring, 2000–3000W inverter |
| High-capacity (1,000W+) | $4,000 – $10,000+ | Multi-kWh battery banks, 3000–5000W inverter/charg |
Can Solar Alone Run Your RV’s Air Conditioner?
RV Solar Panel Kit is probably the most common question, and the honest answer is: only with a large enough system. Running a rooftop AC unit typically requires an inverter rated at 3000W or higher, plus a battery bank large enough to sustain that draw for more than a few minutes. Some specialty kits pair a “soft starter” module with the AC unit specifically to reduce the startup surge, making it possible to run air conditioning off battery power that would otherwise trip a smaller system. If AC is a must-have for your trips, budget for a higher-capacity setup from the start rather than trying to upgrade piecemeal later.
A Simple Way to Think About Budget Tiers
Installation and Maintenance: What to Expect After You Buy
Buying the right kit is only half the job how it’s installed and maintained determines whether it actually delivers on paper specs for years instead of months.
Most complete kits are designed for DIY installation, and the process usually breaks down into four steps: mounting the panels on the roof, running wiring down to the charge controller, connecting the controller to the battery bank, and wiring the inverter into your RV’s AC circuit. Rigid panels need a solid mounting surface and sealant around every screw hole to avoid roof leaks down the road this is the step people rush, and it’s the one that causes the most regret later. If you’re not comfortable with 12V/24V wiring or cutting into your RV’s electrical panel, it’s worth paying an installer for a few hours rather than risking a wiring mistake that damages the battery or inverter.
Conclusion
The right RV solar panel kit isn’t the one with the biggest numbers on the box it’s the one that actually matches how you camp. Do the daily-usage math first, don’t cut corners on the inverter’s surge rating, and lean toward LiFePO4 batteries and MPPT controllers unless there’s a specific reason not to. Get those three things right, and the rest of the decision which brand, which exact wattage, kit versus portable station becomes a lot easier to make with confidence.


 Join Channel